Hello and welcome to the Cutest Video Hop Ever!
Today Moriah, Judah and I are joining Emily Leiphart for this fun Video
Hop where we create a project together - kids and mums crafting side by
side!
There's going to be lots of laughter, plenty of cute moments and of course, a bunch of PRIZES to
WIN along the way as well. Keep reading to find out how!
WIN along the way as well. Keep reading to find out how!

My children have always loved crafting with me, and I'm proud that I might inspire them to explore
their creative side as I believe it holds limitless potential!
In the Video Hop you're going to see over a dozen other papercrafting industry leaders who have also joined forces with their children (or in Simon's case, his mother!) to whip up some rather amazing projects.

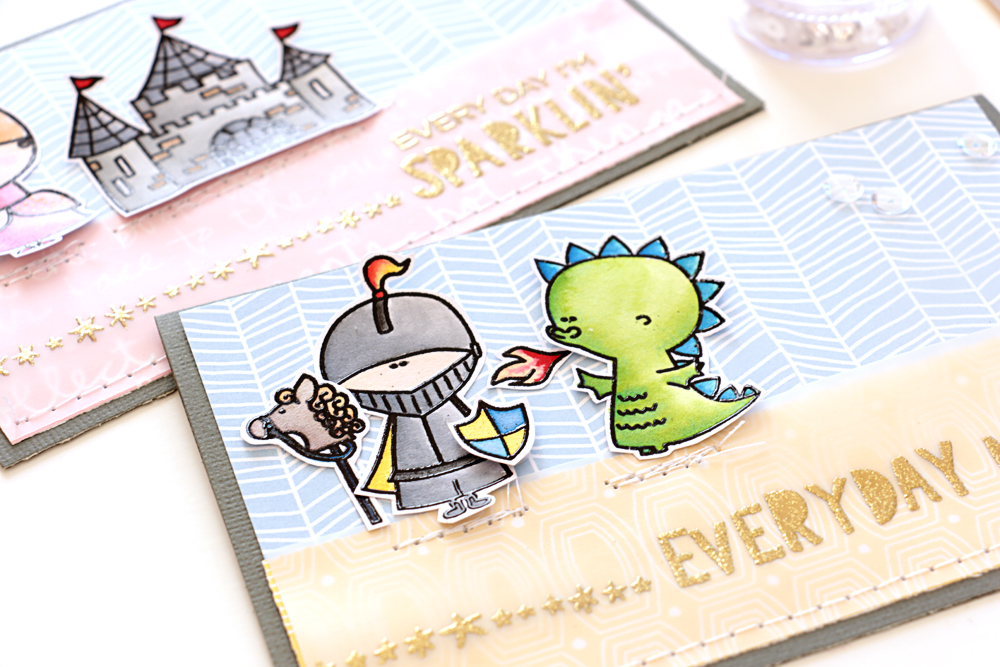
This is the card Moriah and Judah and I created using some of the new Simon Hurley stamps, stencils and inks, along with some dies and adhesive pearls from Australian-owned company Uniquely Creative for the perfect finishing touch.

I'm pretty chuffed with the end results, and I don't just mean the finished card. An even prouder moment is when I ask Moriah what she learned along the way she can list of two or three new tricks and techniques that she picked up such as how to use a stencil, how to ink-blend, and how to 'scatter' those pearls for a balanced look. And when I ask Judah if he had fun he replies very emphatically "yes I did!!"
So how cool is that?!

But don't just take my word for it, watch my video below to see how the whole card came together.
And don't forget that this video is just one link in the fabulous line up of well-known paper crafters and their kids. You really HAVE to start at the start and do the whole journey!!
VIDEO HOP LIST
All of the artists' YouTube links are below. Hop along and get inspired and make sure you leave a
comment on each video for your chance to WIN one of the amazing prizes below.
Please remember that comments here on the blog, while greatly appreciated, are not eligible for the
giveaways below. You must leave your comments on YouTube. The more you comment, the higher
your chances of winning.
comment on each video for your chance to WIN one of the amazing prizes below.
Please remember that comments here on the blog, while greatly appreciated, are not eligible for the
giveaways below. You must leave your comments on YouTube. The more you comment, the higher
your chances of winning.

SPONSORS + PRIZES
We're incredibly grateful to Ranger Ink and Simon Hurley for sending Simon Hurley create products to
several of our designers, and also to Catherine Pooler Designs for sending her inks to several of our
designers.
several of our designers, and also to Catherine Pooler Designs for sending her inks to several of our
designers.
Thank you so much to all of the wonderful individuals and companies who have donated over 30
prizes for this fun event! The winners will be chosen randomly from all comments left on each of our
videos. The more you comment, the better your chances of winning!
Comments will close at 11:59 p.m. EST on April 17, 2019 and winners will be announced on Emily's
blog on April 24, 2019.
prizes for this fun event! The winners will be chosen randomly from all comments left on each of our
videos. The more you comment, the better your chances of winning!
Comments will close at 11:59 p.m. EST on April 17, 2019 and winners will be announced on Emily's
blog on April 24, 2019.
Ranger Ink, 2 Simon Hurley create goodie bags
Jennifer McGuire Ink, 3 Share Handmade Kindness goodie bags
Catherine Pooler Designs, 2 ink pads per video
Scrapbook.com, $75 gift certificate + ColorCase 2-pack*
Simon Says Stamp, $50 gift certificate
Avery Elle, $50 gift certificate
Studio Katia, Two $25 gift certificates
Winnie & Walter, $50 gift certificate
Pretty Pink Posh, $30 gift certificate
Ellen Hutson, $25 gift certificate
Hero Arts, $25 gift certificate
My Favorite Things, $25 gift certificate
Newton’s Nook Designs, $25 gift certificate
Paper Smooches, $25 gift certificate
The Stamp Market, $25 gift certificate
Waffle Flower, $25 gift certificate
*Instagram giveaway
Happy hopping and good luck!!